Installing drasyl on Windows
This guide explains how to install and run drasyl on Windows, including the background service (agent) and the system tray UI.
Step-by-Step Installation
We provide a Windows installer that sets up both the agent and UI automatically.
Step 1: Download the Installer
- Click the following link to download the installer: 📦 drasyl_0.1.0_windows.exe
- The download should start automatically.
You might get warned by Microsoft Defender SmartScreen that it couldn't verify if the file is safe. Click "Show more" and then "Keep anyway".
Step 2: Run the Installer
- Open the file directly from your browser, or locate it in your Downloads folder and double-click the installer.
- User Account Control might ask to allow the app to make changes to your device. Click "Yes".
- Follow the installation wizard to complete the installation.
- After installation, the drasyl agent runs automatically as a Windows service.
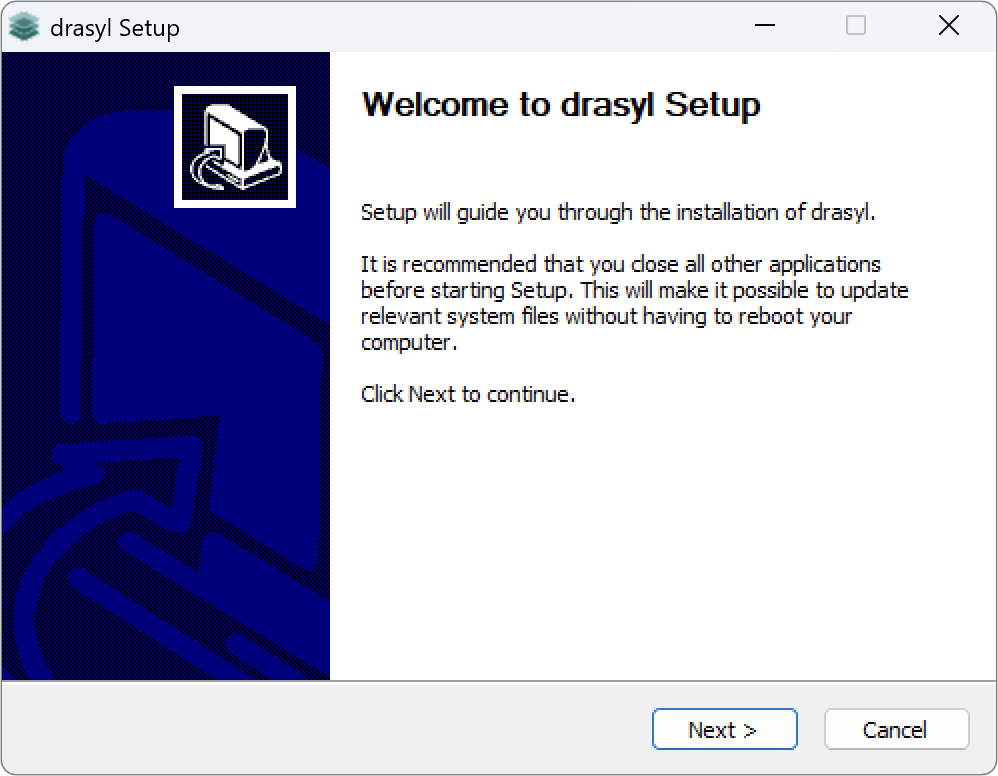
Figure 1: Windows installer welcome screen
Step 3: Start the drasyl UI
- Open the Start menu, search for "drasyl UI", and click to launch it.
- The drasyl UI runs in the system tray (bottom-right corner). If it’s not immediately visible, click the arrow to show hidden icons.
On first startup, the UI may take a few seconds to connect to the agent, as the agent completes the proof-of-work process to generate your device identity.
Once started, the drasyl UI will display the public key of your local device.
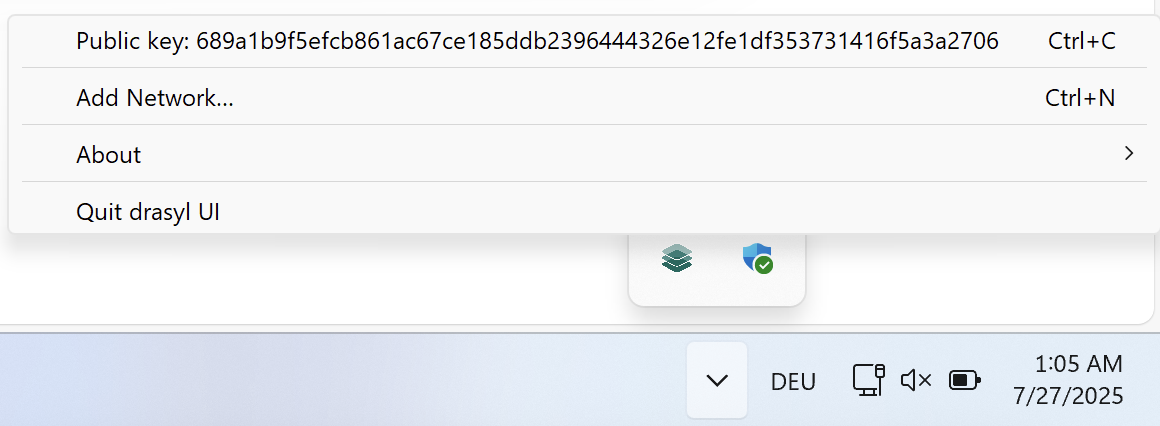
Figure 2: drasyl system tray application showing device public key
You can copy your public key by clicking on it in the drasyl UI.
Alternatively, run "C:\Program Files\drasyl\drasyl.exe" status --token "C:\ProgramData\drasyl\auth.token" in your command prompt to display it.
Next Step
- ✅ drasyl is now installed.
- 👉 Proceed to set up your first network to start connecting devices.